It’s not 2014 yet, but I have a new years resolution to start blogging more often so why not start now?
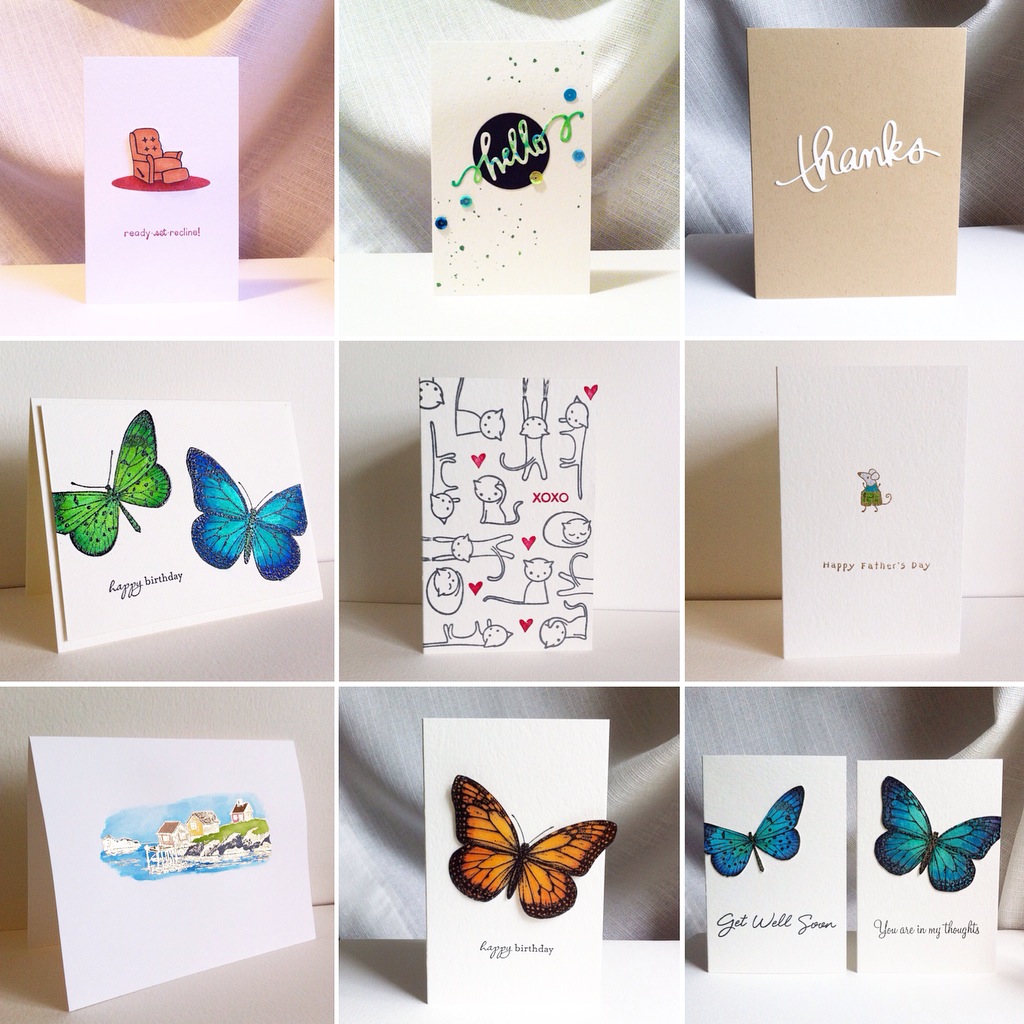
Every second month or so I’ve been designing for The Paperie’s Card Kit, so I thought I’d share my most recent cards from the December kit. I’ve already posted this over on The Paperie blog so if you’ve seen it feel free to skim.

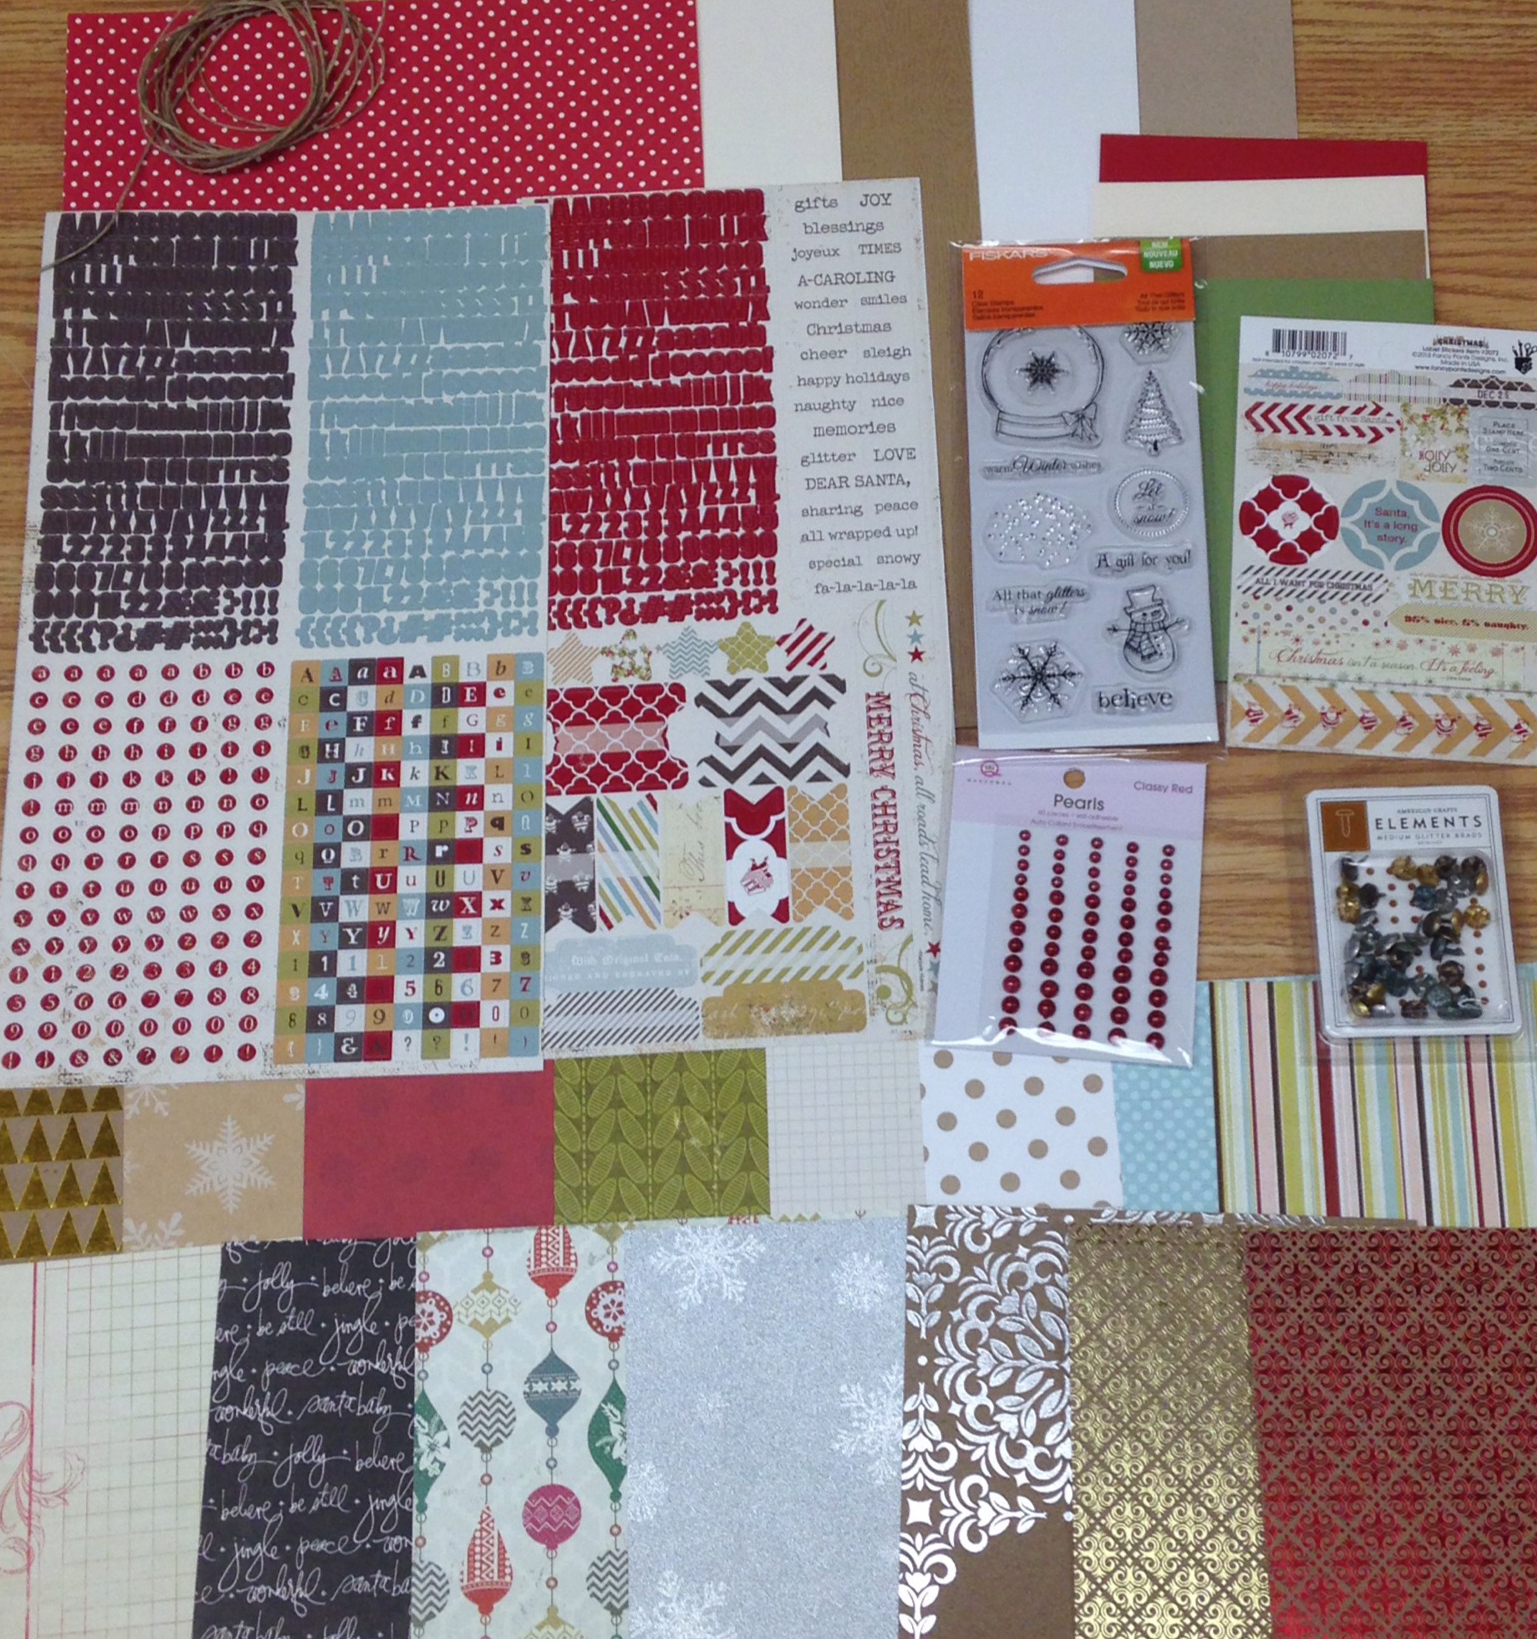
(Kit photo by Stephanie Roberts – thanks Steph!)
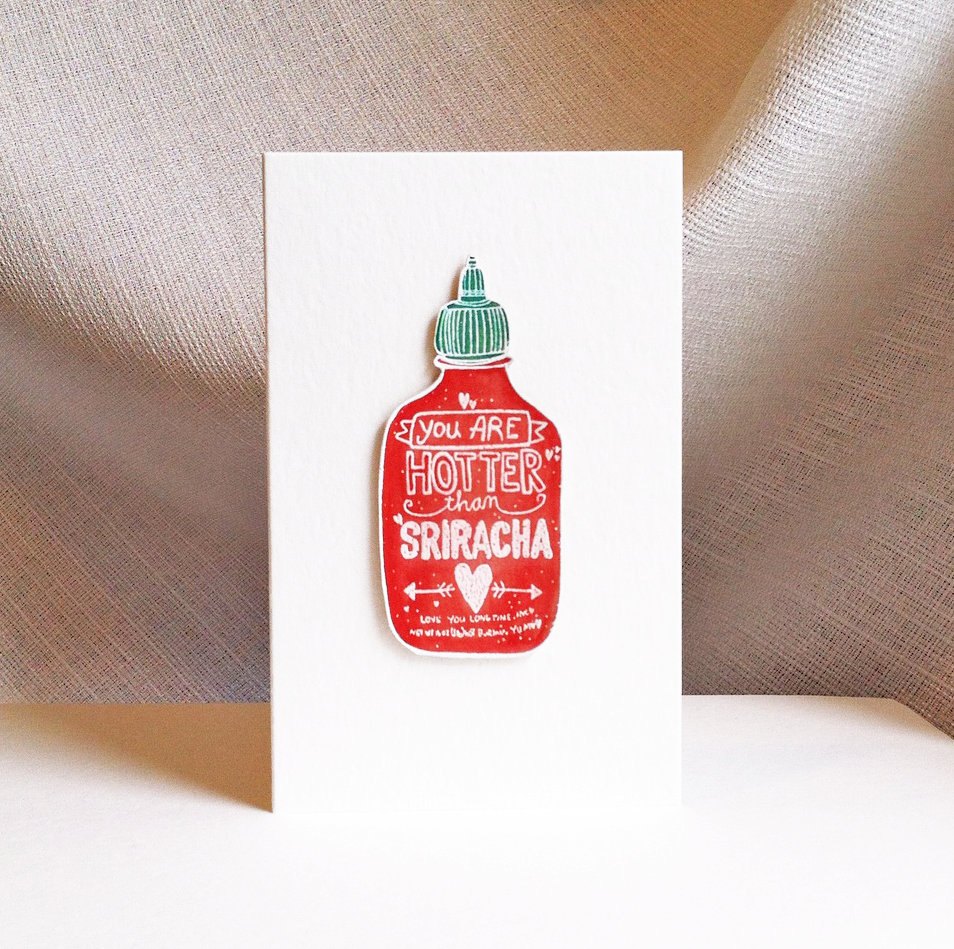
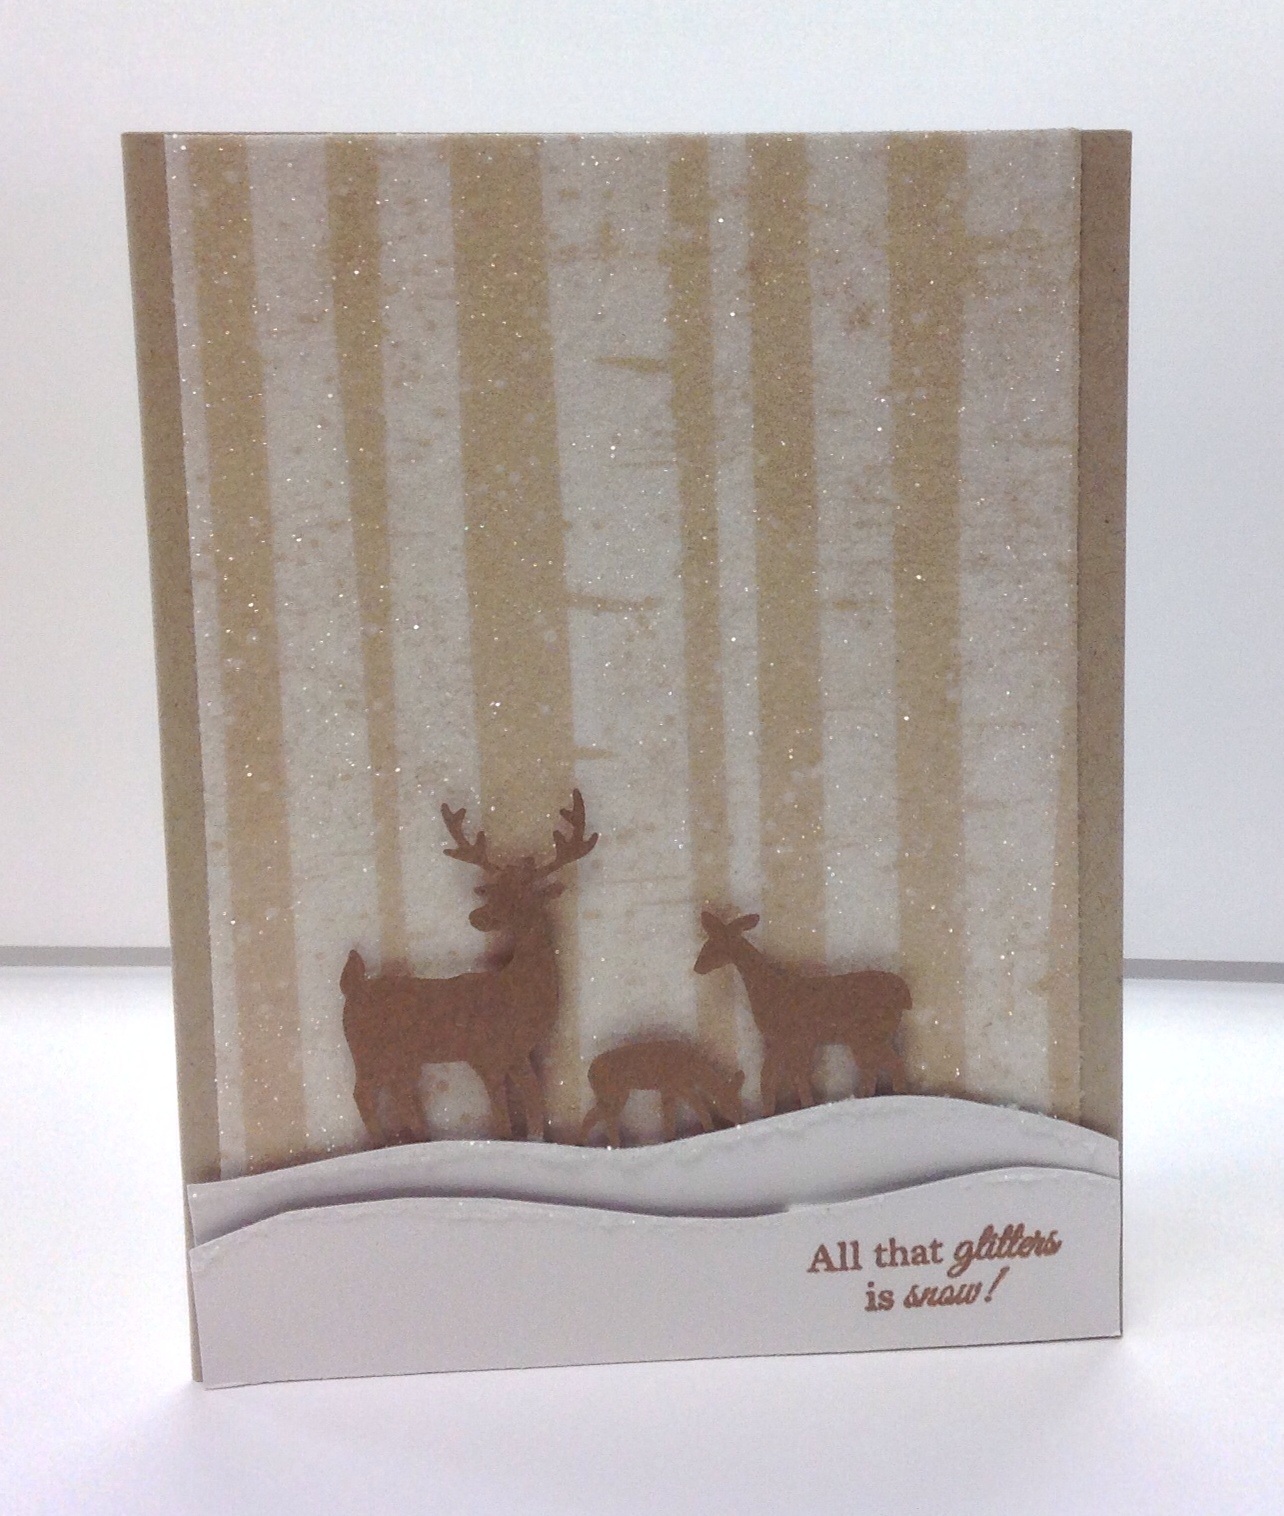
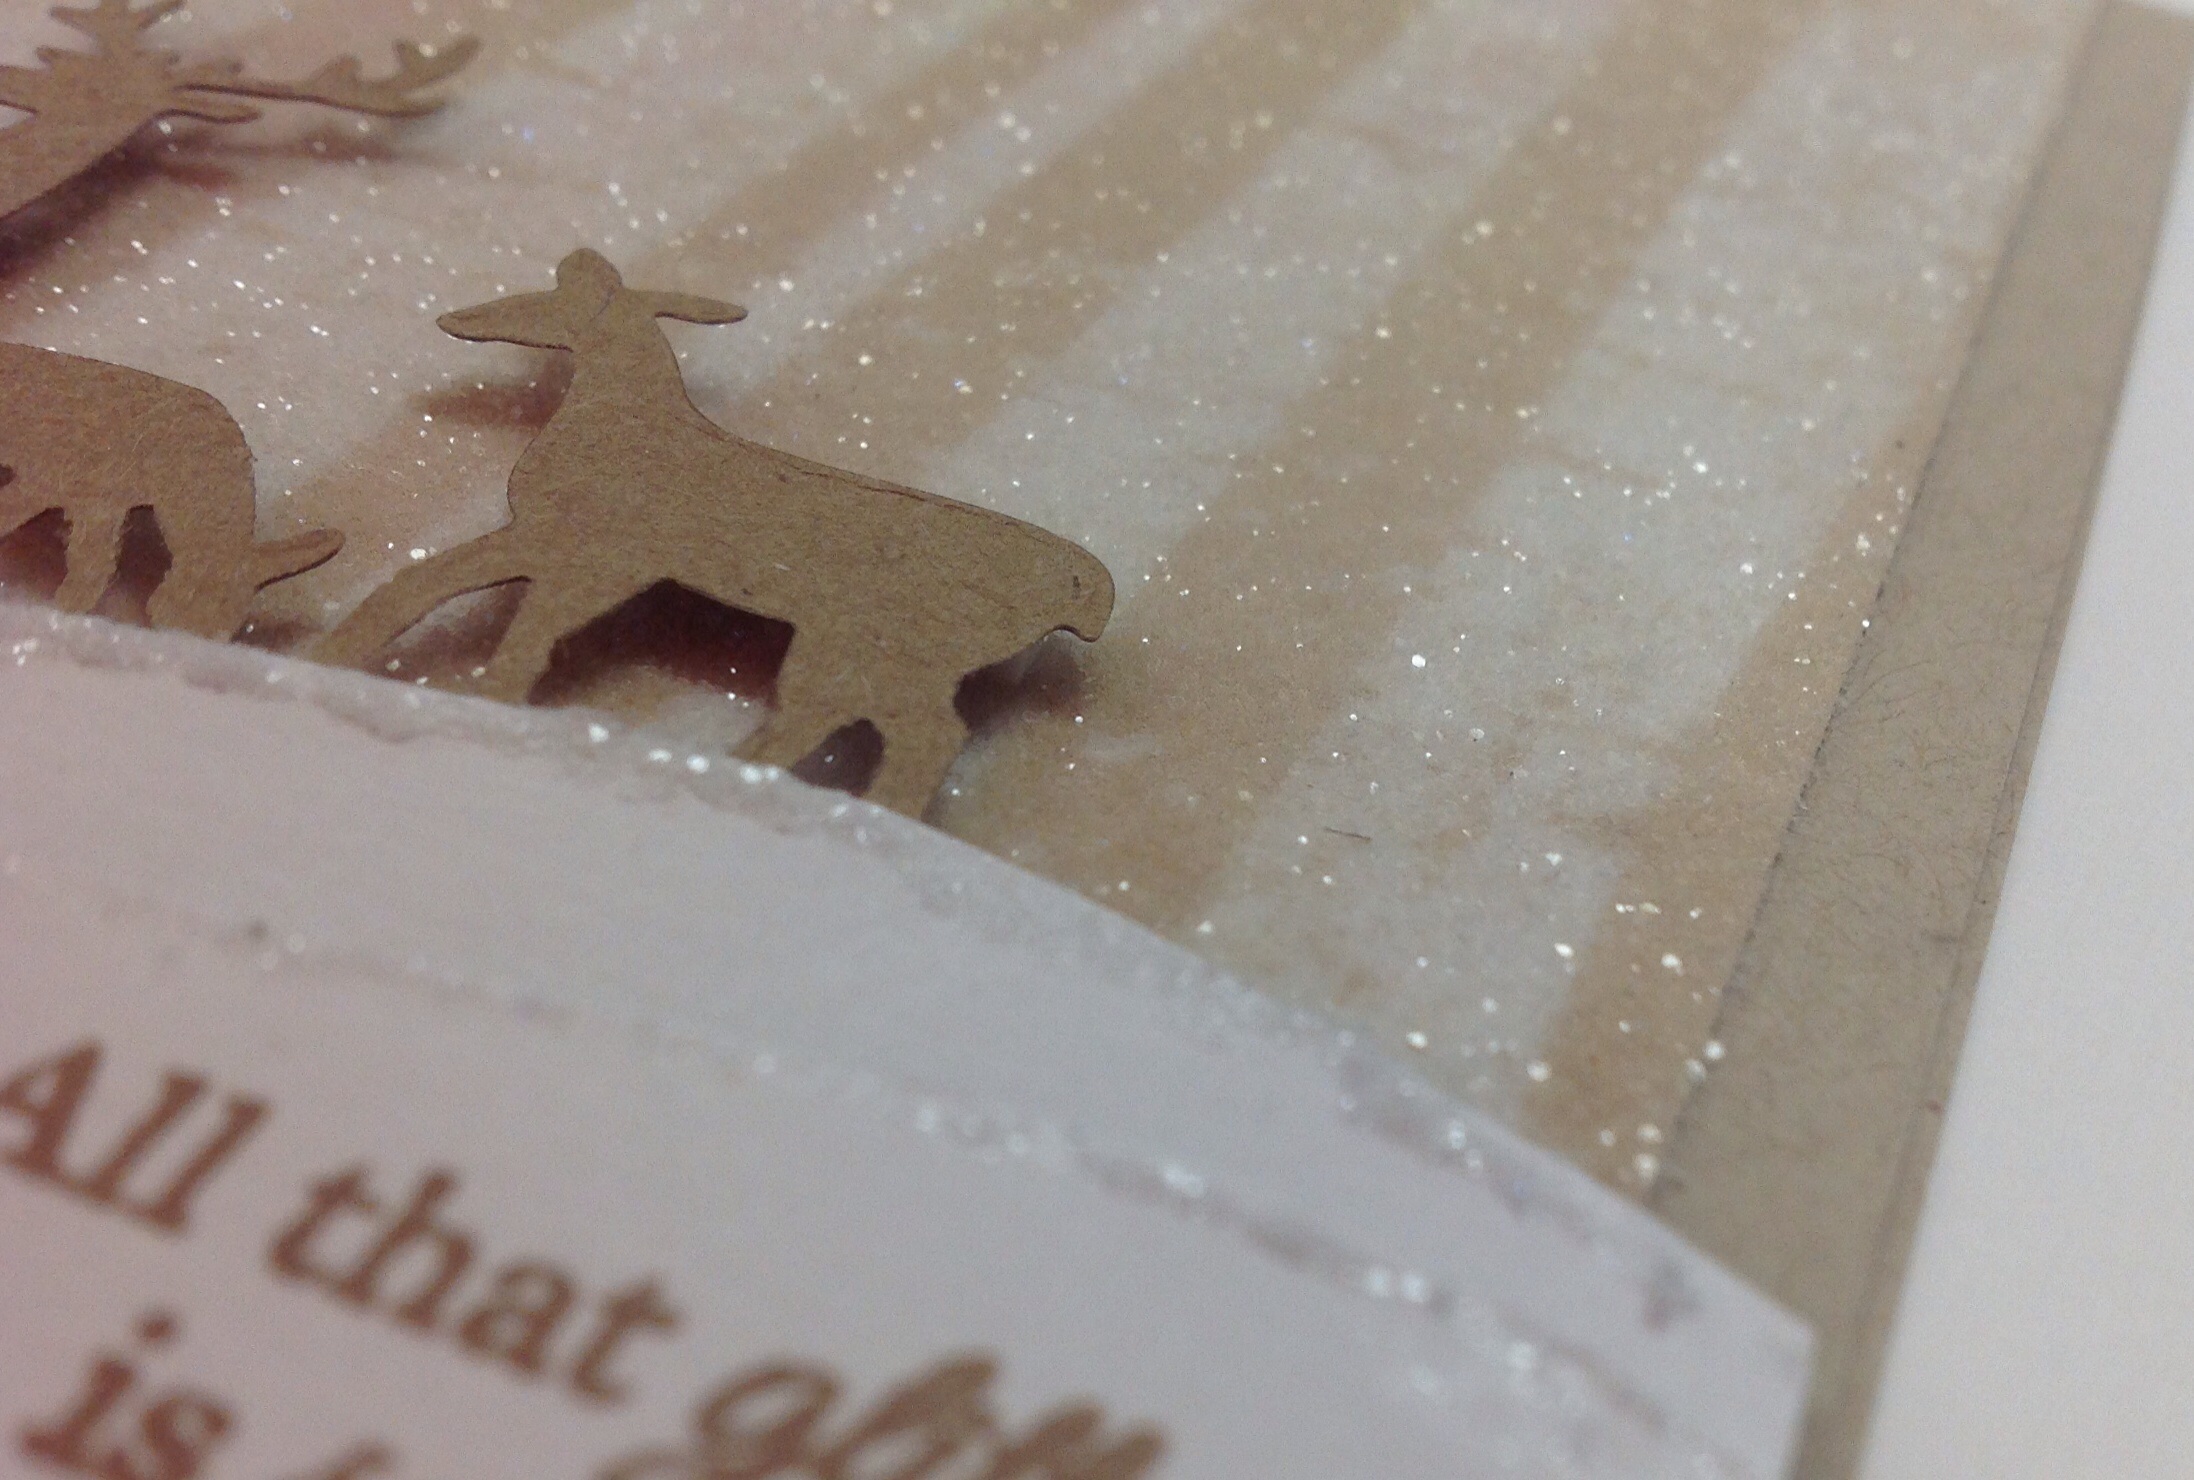
Here is my first (and favourite) card of the bunch…

I loved the birch patterned paper in this kit and I had some new 6×6 Scor-Tape sheets to try, so I borrowed Stickles Dry Glitter from my co-worker, Tina. I also borrowed the ‘Winterland Deer’ die from Wendy, owner of The Paperie. It’s always fun when you get to share supplies with your co-workers and discover new ways to use older supplies!

To create the background I adhered the scor-tape sheet to the birch paper, then peeled off the backing and added a generous dusting of Stickles Dry Glitter. I hand cut my snowbanks and added a line of zig glue to the border for more glittery goodness. The sentiment finished it off before adhering everything together. By far my favourite card of the bunch (the next one is a close second)…

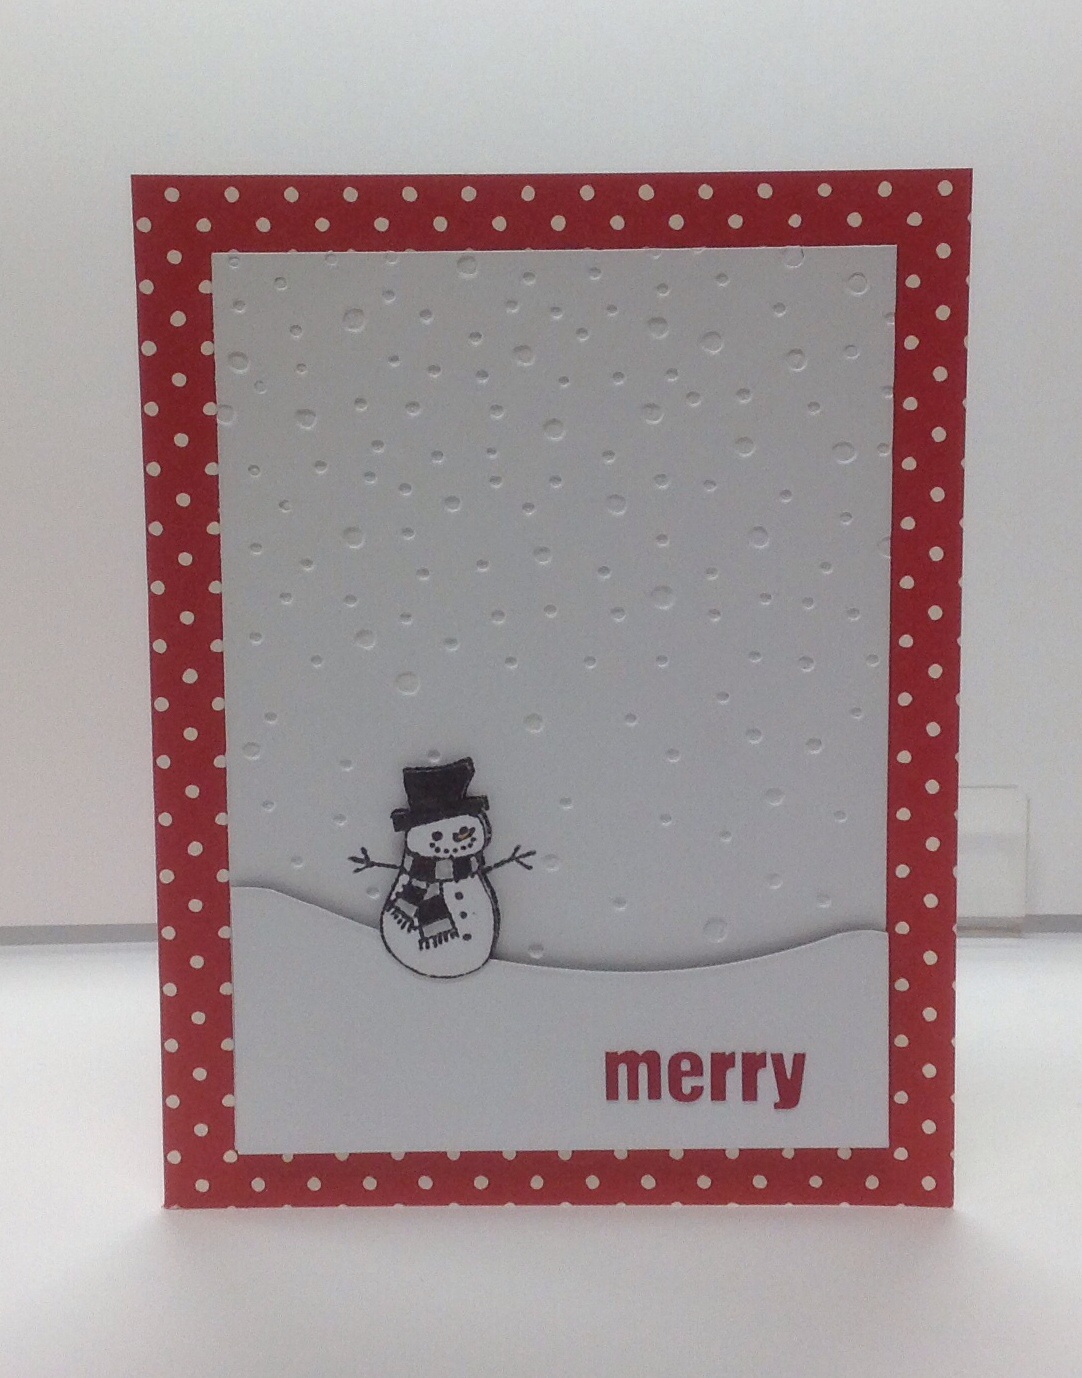
I used the Hero Arts Falling Snow Embossing folder with a panel of white cardstock to create the debossed snowy background, then stamped my snowman. I also stamped the snowman on a tiny scrap of white cardstock and cut out before colouring which is popped up over the background snowman. I bought the Snowdrifts die from ‘My Favorite Things’ to die-cut the snowbank from another scrap of white. The sticker letters finished off the panel, which was mounted on the red polka dot card.

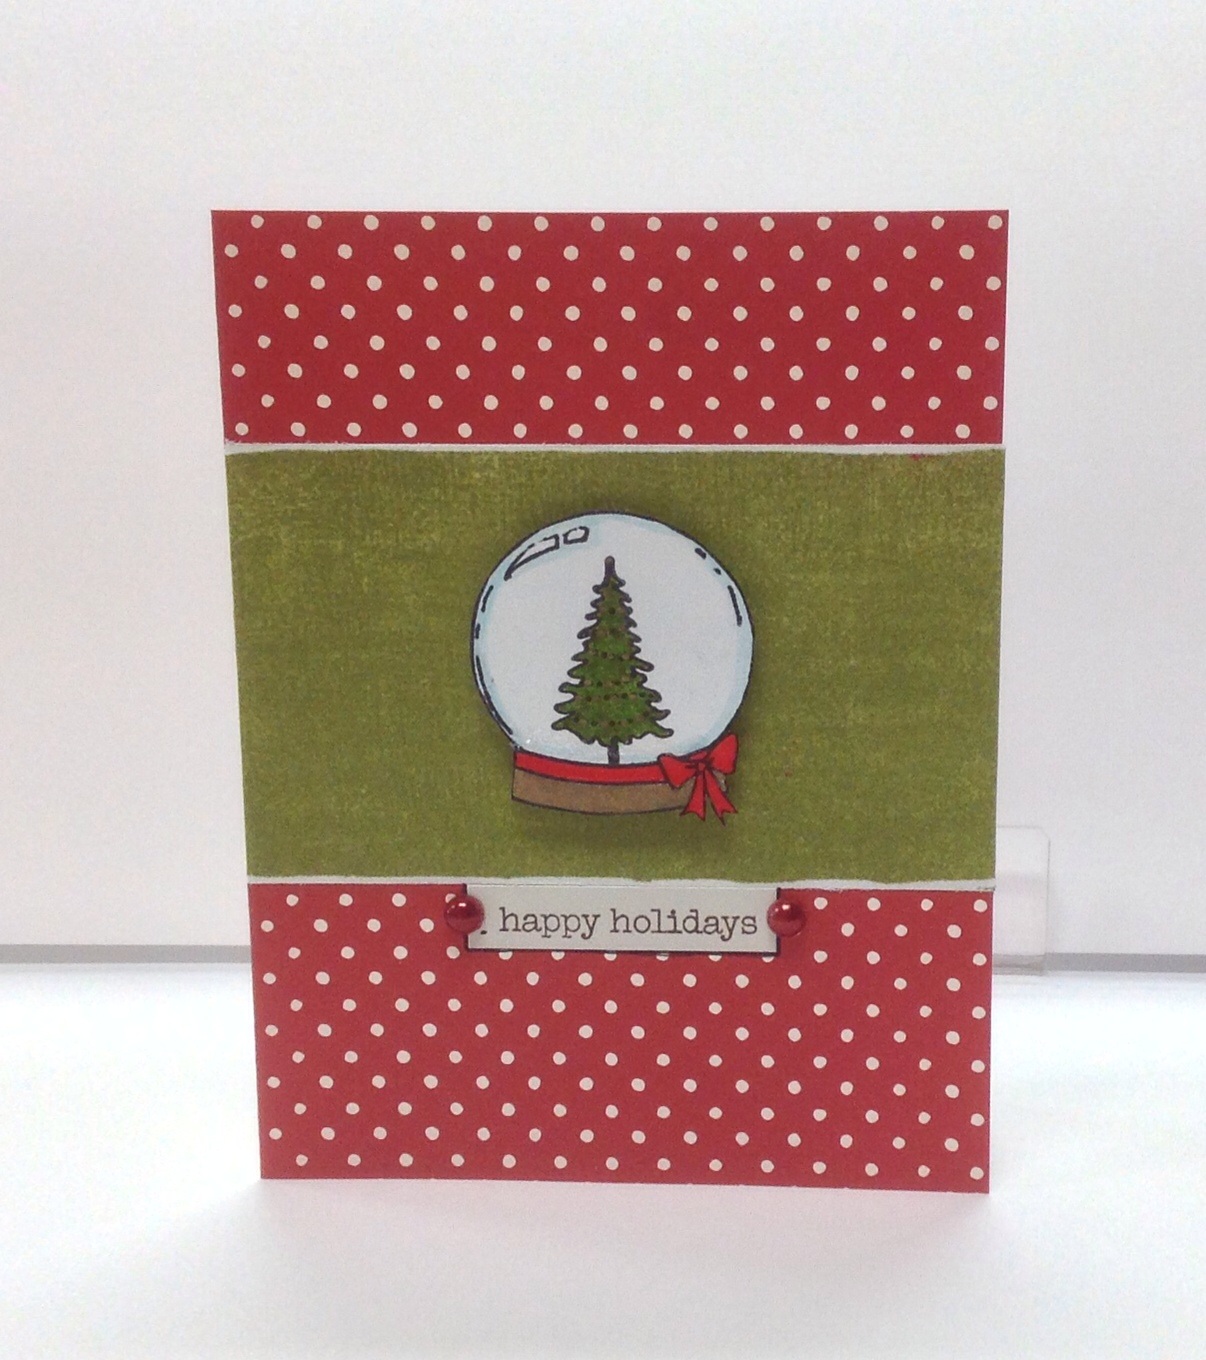
For this quick card I stamped the snowglobe on a scrap of white and stamped the tree inside, coloured the whole thing and added a big of glitter to the snowglobe with Zig fine-tip glue. This was all popped up on the green scrap of paper with foam tape. The sentiment is just one of the stickers in the kit with two pearls on either end – pretty easy!

I used the cream cardstock in the kit for this card base and a panel of the woodgrain cardstock which was distressed with Pinecone VersaColor ink. I had a pile of branches die cut on my desk from a previous project, so I stuck that on the card and added some pearl ‘berries’, and a sticker sentiment finished it off.

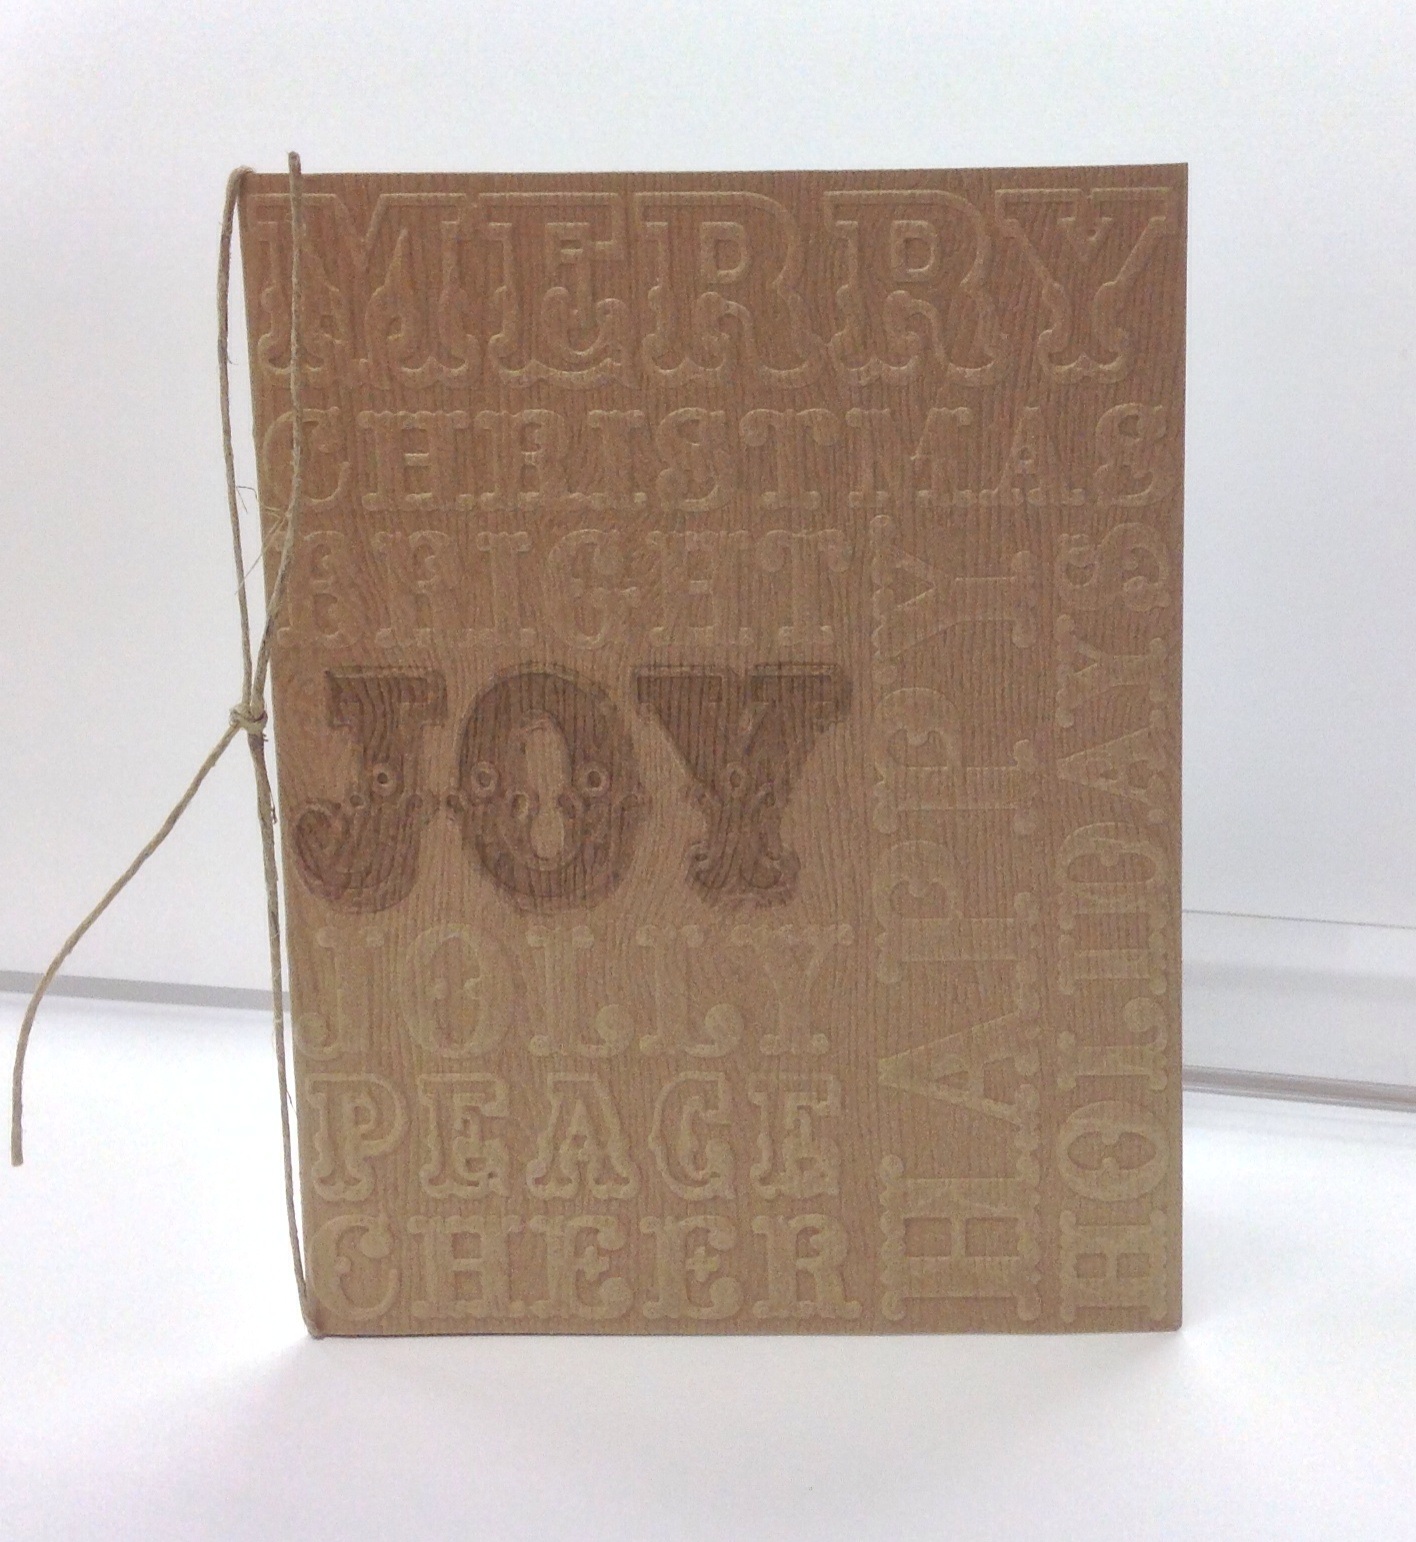
Here’s my other woodgrain card which I wanted to keep extra simple. The only things I used here: my Hero Arts Christmas Words embossing folder, VersaMarker to highlight ‘Joy’, and some twine from the kit. This will be the perfect card to give to one of my brothers or my dad.

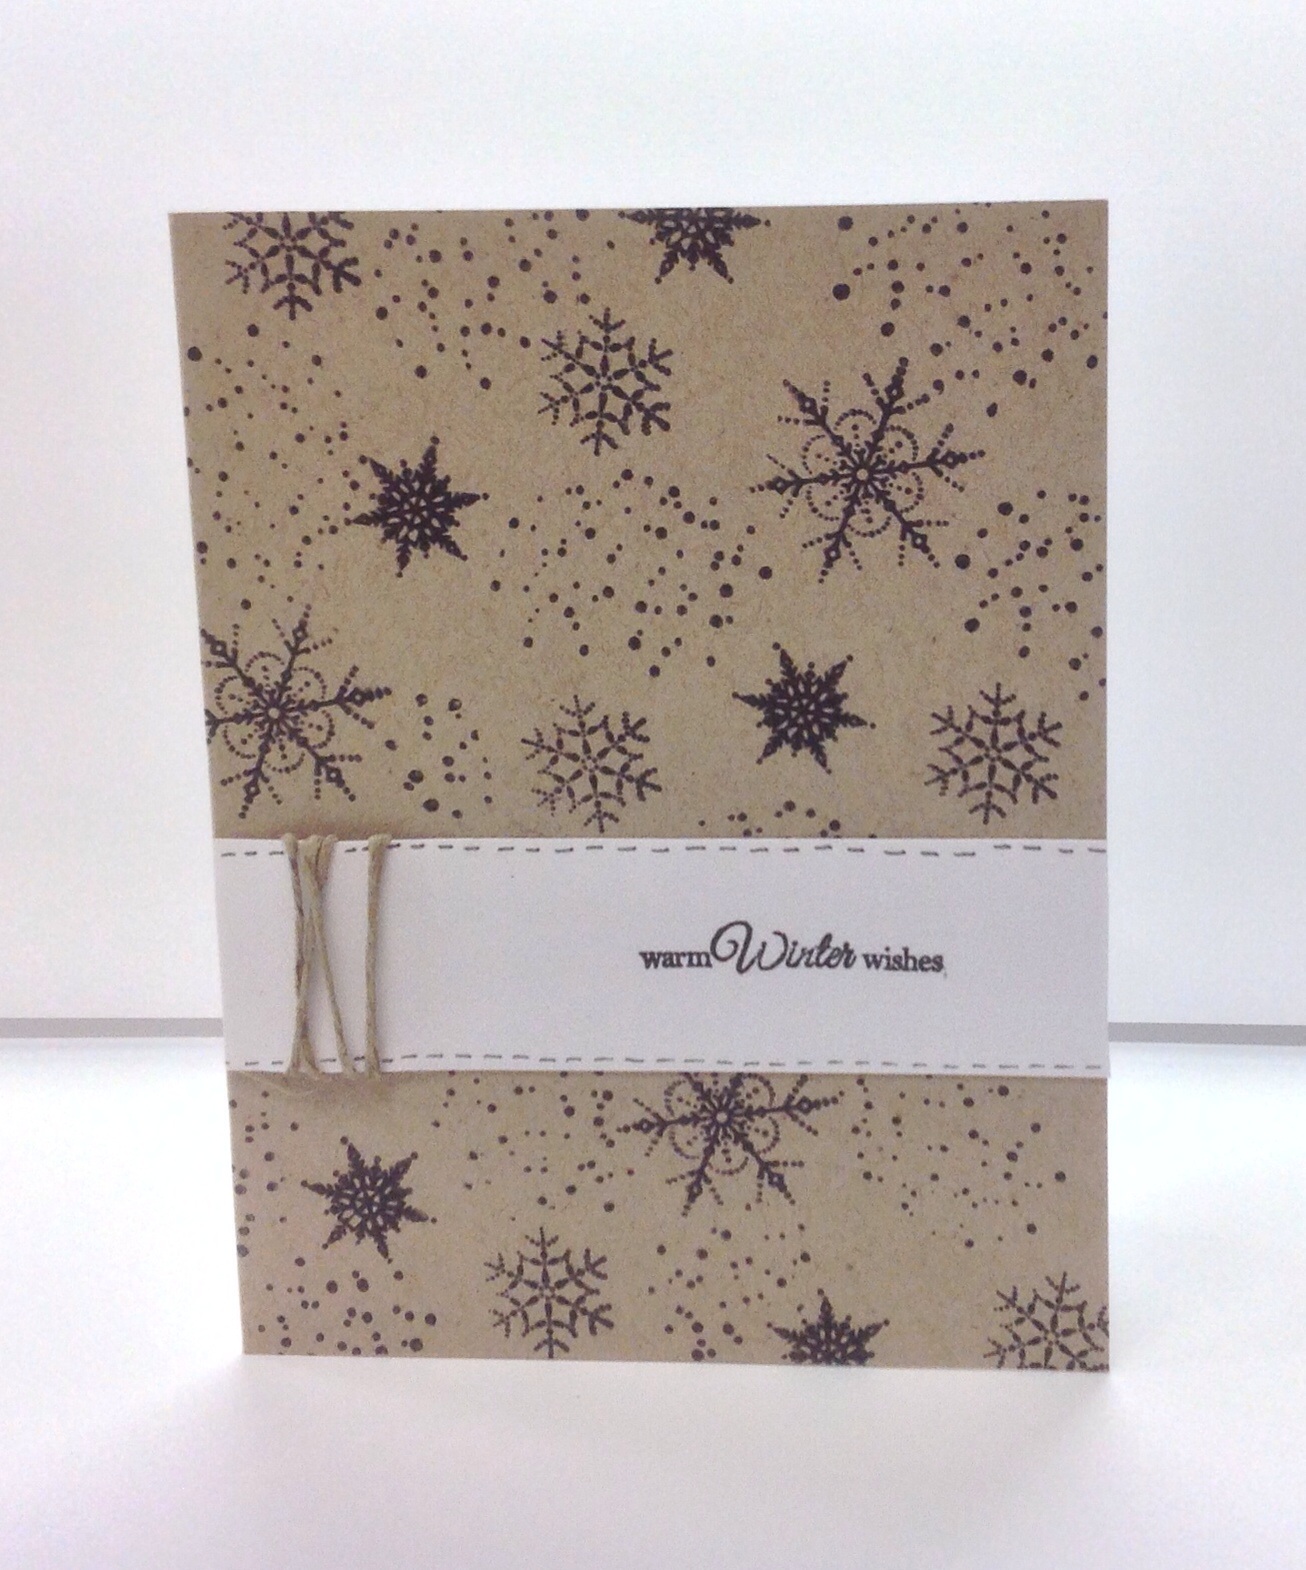
Another simple card with a kraft card base stamped with the snowflakes and snow speckle stamps in black ink to create a random pattern. A scrap of white cardstock stamped with the sentiment and embellished with twine and faux stitching adds a finishing touch.

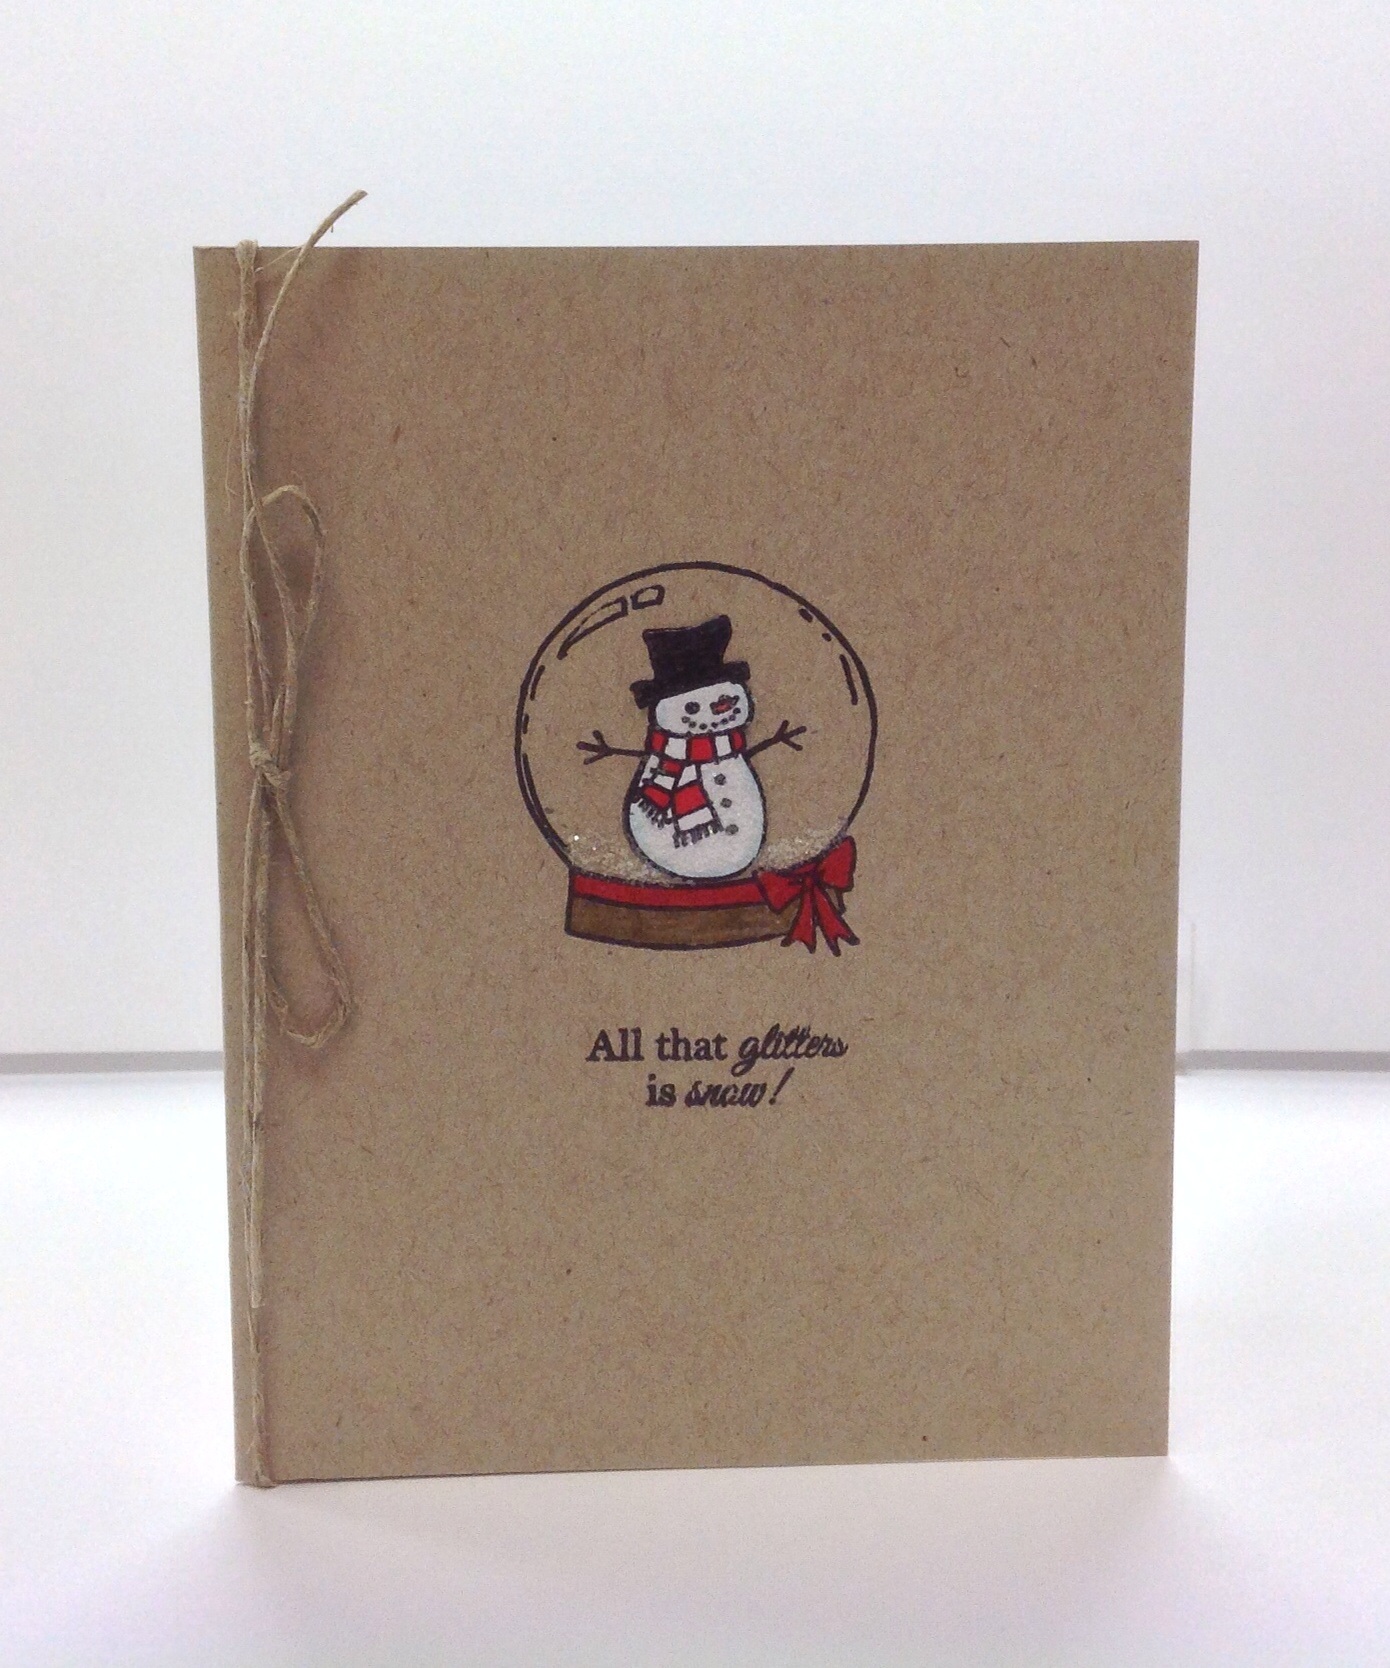
I have a little basket of card bases prepped and ready to go on my desktop, so I used one of my own kraft cards to make this quick and simple card. The snowman was stamped inside the snowglobe on the kraft cardstock, then stamped again on a tiny scrap of white cardstock, fussy cut, and placed inside the snowglobe with flat adhesive.

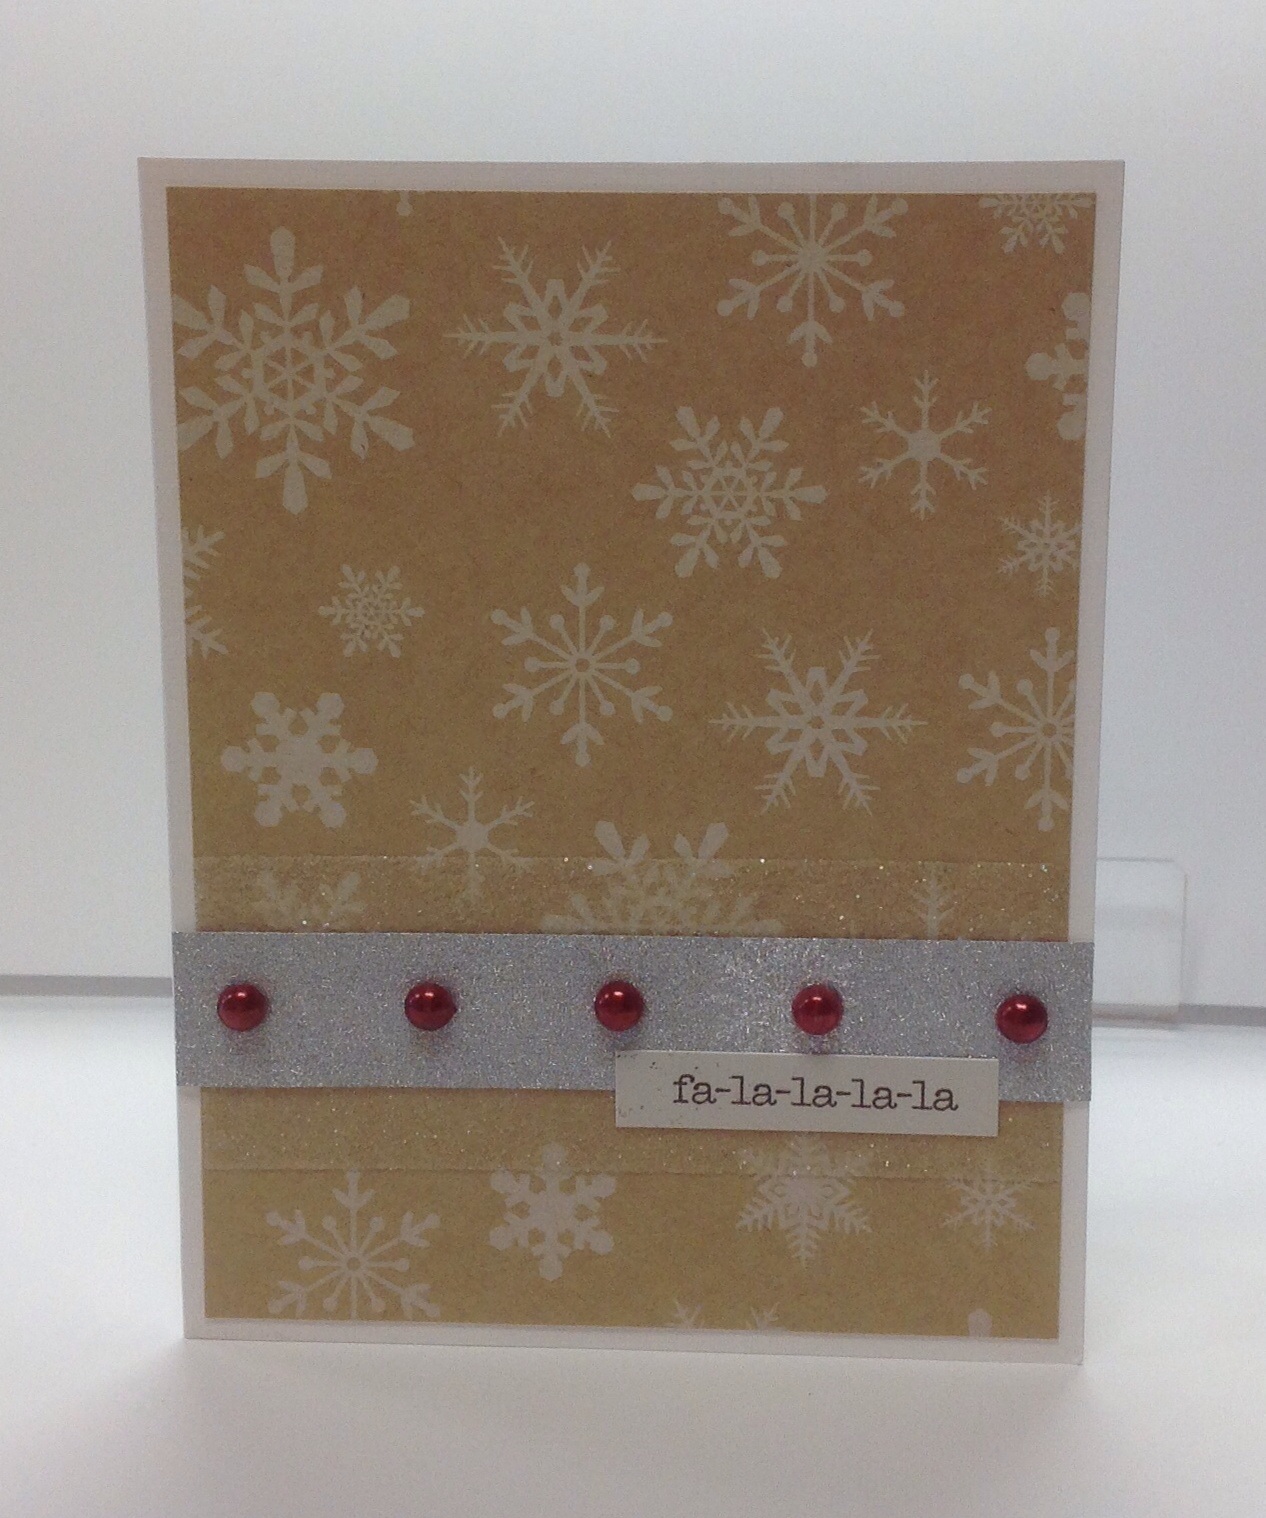
I loved the kraft snowflake cardstock in the kit and didn’t want to cover it up too much, so I adhered the panel to the white card base and added a strip of Scor-tape that I had leftover from my first card to adhere a strip of glitter. The silver snowflake Pow Glitter cardstock was added with some pearl accents and the ‘fa-la-la-la’ sticker.
This moustache stamp was from an older Paperie card kit; it was simply embossed in white on the red card base, then I die-cut a Lawn Fawn ‘Say Cheese’ polaroid frame to accent Santa’s little moustache. The sentiment was handwritten – I made this back in ‘Movember’.
Quick tip for holiday card making: I keep a pile of white cardstock cut to “panel-size” on my desktop which is why so many of my cards have a standard format…
There are still some December card kits in stock at The Paperie, so be sure to call 726-5323 to reserve one for $24.99.